Getting started with Trial
This brief guide illustrates the basic steps to get started with a new Trial project. If you instead would like to just have a look at what it can do instead, please have a look at the workbench.
NOTE: If you are new to Common Lisp, beware. Trial is not the right avenue to start learning the language. This tutorial and all documentation assumes you have a solid grasp of the language and its ecosystem, including how to use packages, CLOS, systems, and libraries.
Prerequisites
You'll need a capable Lisp implementation. We heavily recommend using SBCL. While other implementations may work, we currently don't have the capacity to properly support them directly (patches welcome). We also currently only directly support Windows and Linux. Other systems like Mac or BSD are in a similar support state as other implementations.
Since the basic Quicklisp dist is often out of date and Trial or its dependencies can move fast, we also urge you to use our custom dist to fetch Trial and the required dependencies. To install the shirakumo dist, simply evaluate the following:
(ql-dist:install-dist "http://dist.shirakumo.org/shirakumo.txt")
After that you should be able to (ql:quickload :trial).
Project scaffolding
We recommend setting up a basic project scaffold as you would for anything else, with the following basic files in a fresh folder[1]:
my-project.asd(asdf:defsystem my-project :components ((:file "package") (:file "main")) :depends-on (:trial :trial-glfw :trial-png))You may want to include other dependencies based on the formats you'll require, or the extensions you'll make use of, or switch GLFW out for another backend if you require. We heavily suggest GLFW however, as it is by far the most mature backend.
package.lisp(defpackage #:org.my.project (:use #:cl+trial) (:shadow #:main #:launch) (:local-nicknames (#:v #:org.shirakumo.verbose) (#:sequences #:org.shirakumo.trivial-extensible-sequences)) (:export #:main #:launch))
The
cl+trialpackage includes everything from CL and Trial with the needed shadowing in place. We also make sure to shadowmainandlaunchas we'll define our own for convenience. Finally, thevlocal nickname is useful for logging using the Verbose framework that Trial already depends on.main.lisp(in-package #:org.my.project) (defclass main (trial:main) ()) (defun launch (&rest args) (apply #'trial:launch 'main args))
Subclassing
mainlike this allows you to add subclasses without worry, and overridinglaunchgives you the opportunity to perform other early initialisation steps before the engine starts up proper, besides just giving you a very convenient function to launch your game with.
After loading your project, you should be able to call (org.my.project:launch) and be presented with a blank window. Wow!
Drawing some stuff
Let's make this a bit more interesting, by actually creating a scene with stuff in it.
(defmethod setup-scene ((main main) scene)
  (enter (make-instance 'vertex-entity :vertex-array (// 'trial 'unit-cube)) scene)
  (enter (make-instance '3d-camera :location (vec 0 0 -3)) scene)
  (enter (make-instance 'render-pass) scene))
Then either relaunch the game, or run evaluate (maybe-reload-scene) while the game is running.
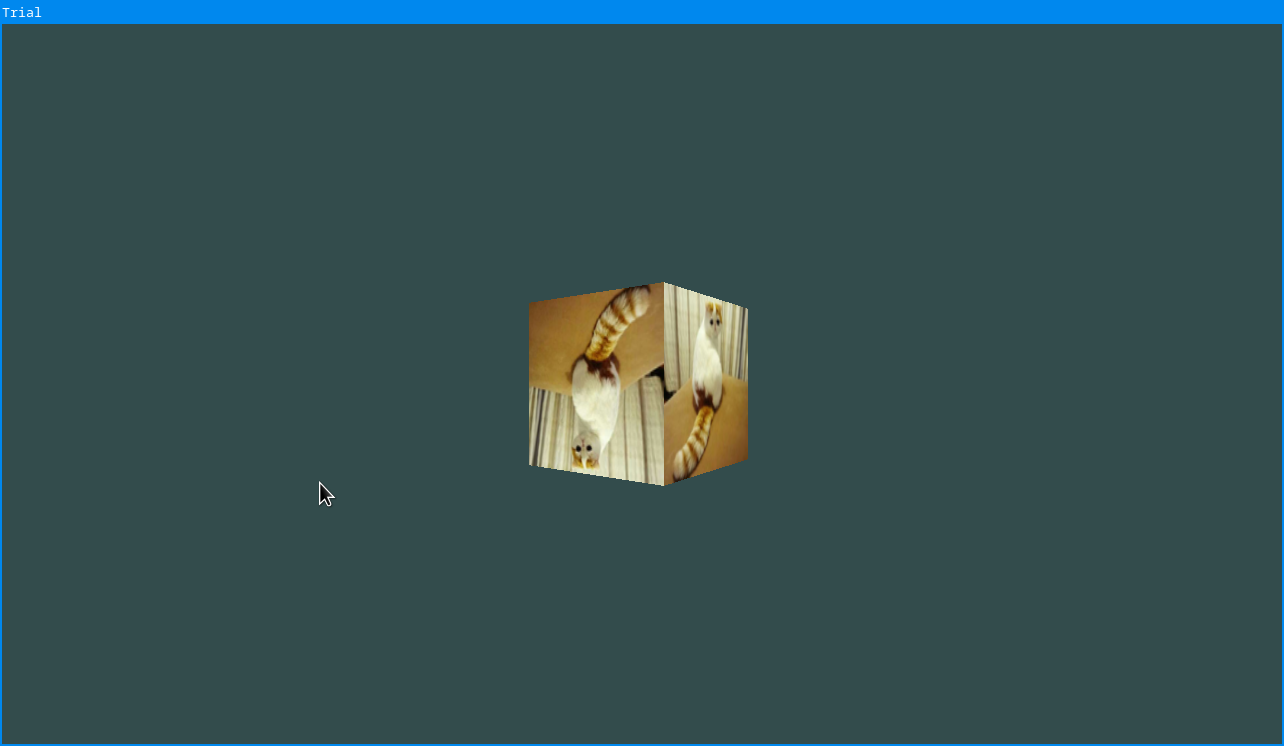
As you might guess from the above, we're now looking at a simple cube. Let's make it move. To do so we're going to change away from creating a simple placeholder to creating our own entity type.
(define-shader-entity my-cube (vertex-entity transformed-entity listener)
  ((vertex-array :initform (// 'trial 'unit-cube))))

(define-handler (my-cube tick) (tt)
  (setf (orientation my-cube) (qfrom-angle +vy+ tt)))

(defmethod setup-scene ((main main) scene)
  (enter (make-instance 'my-cube) scene)
  (enter (make-instance '3d-camera :location (vec 0 0 -3)) scene)
  (enter (make-instance 'render-pass) scene))
Here we make use of three helper classes, the vertex-entity to draw the cube mesh, the transformed-entity to rotate it, and the listener to react to events like tick.
After another scene reload the cube should now spin, though because it's still completely flat and textureless, it's a bit boring. Let's add a texture[2].
(define-asset (trial cat) image
  #p"cat.png")

(define-shader-entity my-cube (vertex-entity textured-entity transformed-entity listener)
  ((vertex-array :initform (// 'trial 'unit-cube))
   (texture :initform (// 'trial 'cat))))
Redefining this will lead to an error if your game is still running, as it'll try to access a resource that wasn't loaded. No worries, though, just evaluate (maybe-reload-scene) while the debugger is up, and then continue the debugger.
This is still a completely unshaded cube, however. If you'd like to dive into setting up actual lighting model shaders, please have a look at the standard rendering system. Or if you're interested in 2D games, have a look at sprites and tile layers.
Making it move
Just having a spinning cube of cats isn't much of a game yet, so let's add some movement. To do this we'll make use of Trial's actions system, which abstracts away actions in the game so that they can be rebound by the user.
(define-action-set in-game)
(define-action move (directional-action in-game))
(define-action hide (in-game))
With just the actions defined, they won't actually fire yet. Let's create a keymap.lisp file that contains the default mapping:
(directional move
  (stick :one-of ((:l-h :l-v)))
  (keys :one-of ((:w :a :s :d))))

(trigger hide
  (button :one-of (:a))
  (key :one-of (:space)))
This will make the actions work with both keyboard and game controllers. Now we just need to let Trial know what our primary game's system is so it can search for the keymap in the proper place, and modify launch to load it in:
(setf +app-system+ "my-project")

(defun launch (&rest args)
  (let ((*package* #.*package*))
    (load-keymap)
    (setf (active-p (action-set 'in-game)) T)
    (apply #'trial:launch 'main args)))
We bind the *package* to the one of our current source file to ensure that all symbols in the keymap are resolved to the ones from our package. And once we have loaded the keymap, we set the in-game action set to active, to ensure that the actions are actually fired[3].
Each action we defined is also an event type that you can install a handler on to catch firings of immediately. However, often it's also useful to just test whether a button is held down, or especially in the case of directional movement, what the current movement extent is.
To do so, we can use the retained and directional functions. Let's extend our tick handler to make the cube move around:
(define-handler (my-cube tick) (tt dt)
(setf (orientation my-cube) (qfrom-angle +vy+ tt))
(let ((movement (directional 'move))
(speed 10.0))
(incf (vx (location my-cube)) (* dt speed (- (vx movement))))
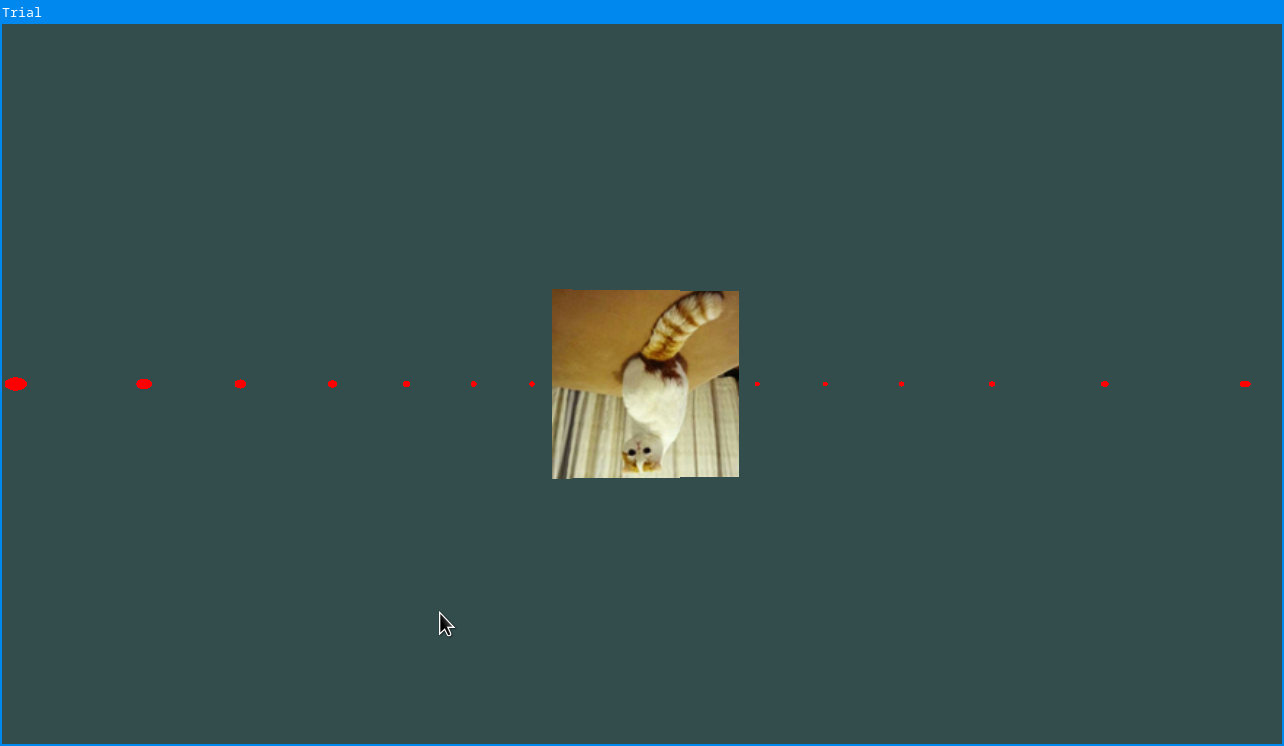
(incf (vz (location my-cube)) (* dt speed (vy movement)))))Now you should be able to make the cube move left and right or back and forth, both with the keyboard and a controller.[4]
Let's also quickly add an action for the hiding. This time however, we'll define a new handler so we can react instantly when the action fires.
(define-shader-entity my-cube (vertex-entity colored-entity textured-entity transformed-entity listener)
  ((vertex-array :initform (// 'trial 'unit-cube))
   (texture :initform (// 'trial 'cat))
   (color :initform (vec 1 1 1 1))))

(define-handler (my-cube hide) ()
  (setf (vw (color my-cube)) (if (= (vw (color my-cube)) 1.0) 0.1 1.0)))
Now we can hide the cube by hitting the A button or space bar key.
You can already see the way Trial lets you separate behaviours out into individual mixin classes and then re-combine them as needed.
Spawning stuff
Before we close off this brief guide, let's talk about dynamically spawning stuff. So far we've just "statically" added entities at the beginning when the scene is first set up. To dynamically modify the scene, let's create a new entity type.
(define-shader-entity bullet (vertex-entity colored-entity transformed-entity listener)
  ((vertex-array :initform (// 'trial 'unit-sphere))
   (color :initform (vec 1 0 0 1))
   (velocity :initform (vec 0 0 0) :initarg :velocity :accessor velocity)))

(define-handler (bullet tick) (dt)
  (nv+* (location bullet) (velocity bullet) dt))
And for testing purposes, let's temporarily just make the cube shoot it when we press F.[5]
(define-handler (my-cube key-press) (key)
  (case key
    (:f (enter (make-instance 'bullet :location (location my-cube)
                                      :scaling (vec 0.1 0.1 0.1)
                                      :velocity (nv* (q* (orientation my-cube) +vx3+) 5))
               (container my-cube)))))
This'll spawn a bullet and make it shoot out in the direction the cube is facing. Except... trying it now will crash with some obscure error[6]. This happens because the bullet has different superclasses to the cube, and requires a different drawing method, which wasn't loaded when the scene was set up.
There's two ways to fix this. We can either use enter-and-load instead of enter, which will load the necessary resources dynamically there, or we can preload it like the rest of the scene. The latter is preferable, as there's a lot less work that needs to be done while the game is running, leading to smoother gameplay.
(defmethod setup-scene ((main main) scene)
  (enter (make-instance 'my-cube) scene)
  (enter (make-instance '3d-camera :location (vec 0 0 -3)) scene)
  (enter (make-instance 'render-pass) scene)
  (preload (make-instance 'bullet) scene))
The preload function tells the scene that it shouldn't literally have that entity in the scene graph, but still pass it on to the loader system and the shader passes, so that they can perform the necessary preparations for us to easily spawn it later.
Further reading
There's still a lot more to making games, collision detection, physics, sound, UI, shading, effects, particles, the list goes on forever. However, we'll end this brief introduction here, and instead let you move on to the rest of the documentation.
You may also want to check out the source code of Kandria, which is a commercially released Action RPG platformer game. All of the code is open for you to look at.